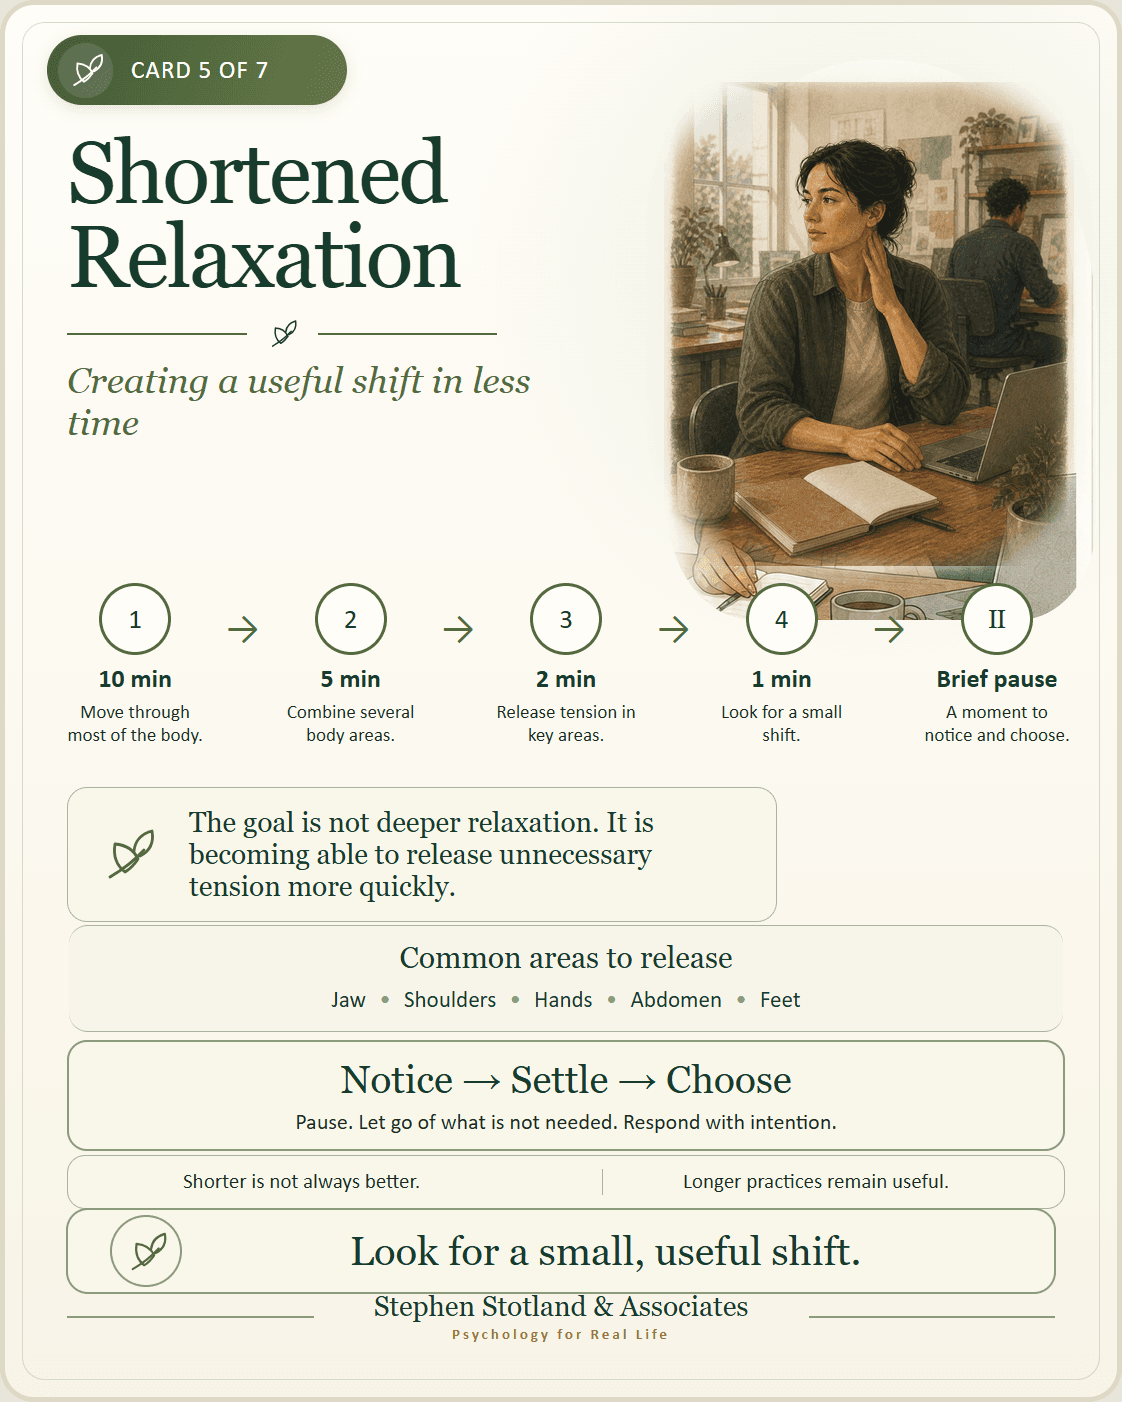
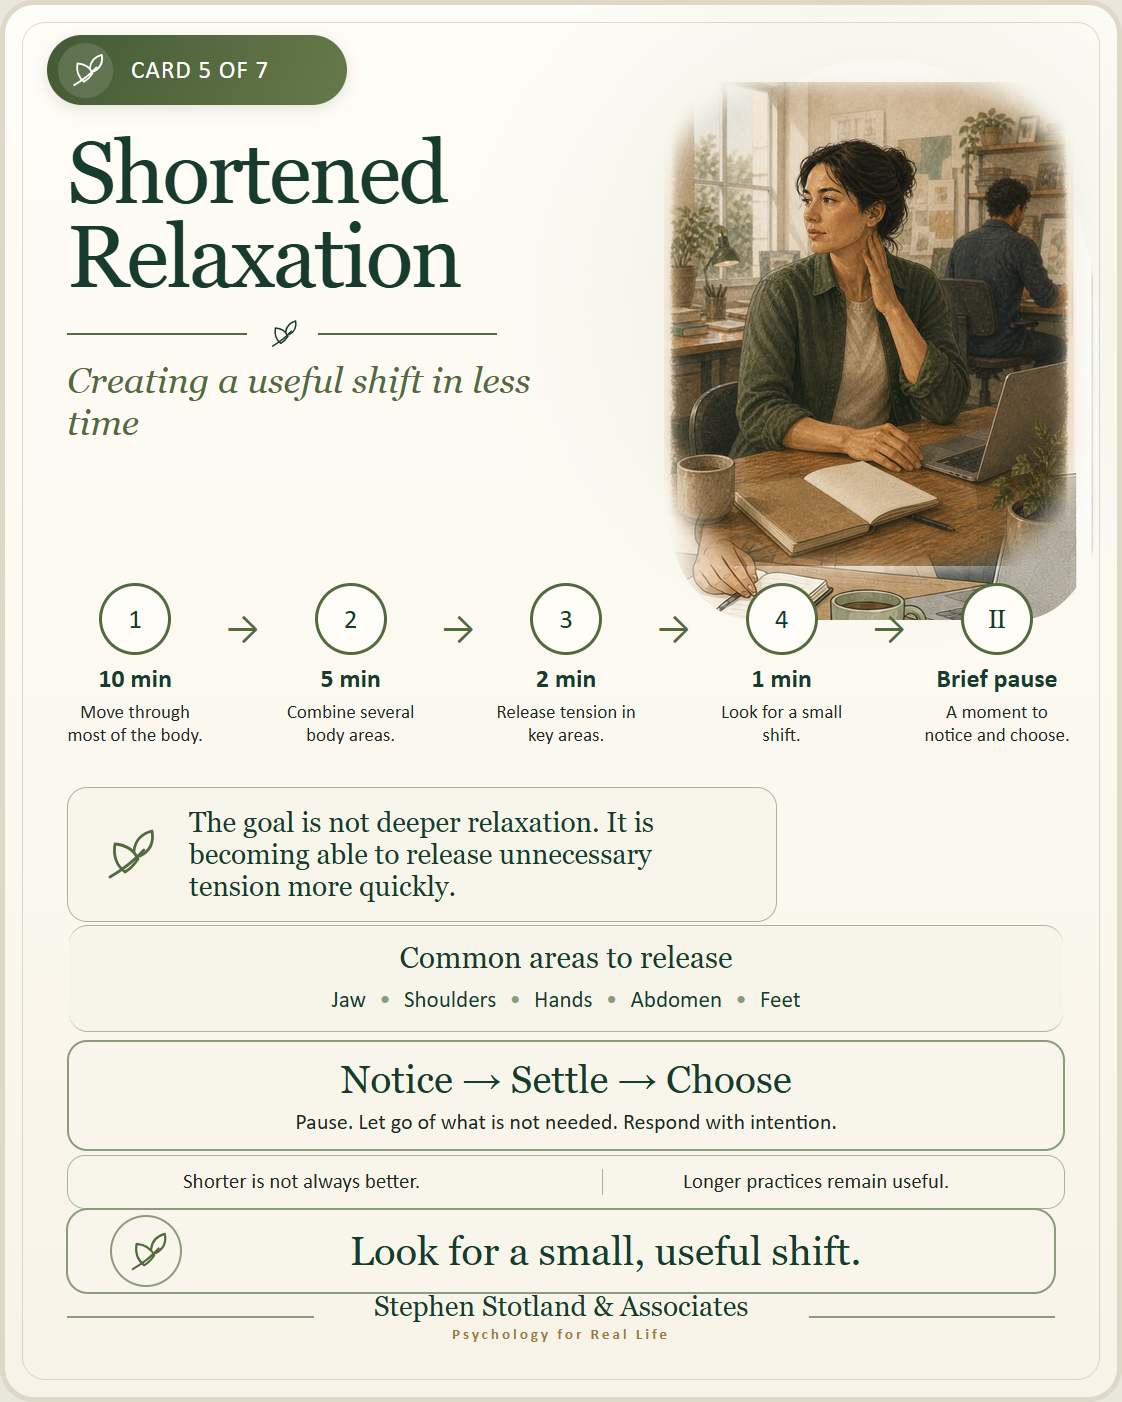
Creating a useful shift in less time
Shortened Relaxation is the third stage of Applied Relaxation Training.
In Active Relaxation, you learned the contrast between muscular tension and release. In Passive Relaxation, you practiced releasing tension without tensing the muscles first.
Shortened Relaxation uses the same basic skills in progressively less time.
The goal is not to become more deeply relaxed. It is to notice and release unnecessary tension more quickly, so the method becomes easier to use in daily life.
Before shortening the practice
Begin Shortened Relaxation when Active and Passive Relaxation feel reasonably familiar.
You do not need to master them or become deeply relaxed. It is usually enough that:
- you remember the general body sequence;
- you can notice tension in at least some areas;
- you can intentionally soften several muscle groups;
- you can use moderate rather than excessive effort; and
- the longer practices feel understandable and manageable.
Continue using the longer exercises when they are helpful. Shortened Relaxation adds options; it does not replace everything you learned earlier.
How the practice is shortened
Gradually reduce the length of the exercise.
A typical progression is:
- 10 minutes;
- 5 minutes;
- 2 minutes;
- 1 minute; and
- eventually, a very brief pause.
There is no need to follow this schedule rigidly. Remain with one length until it feels reasonably familiar, or move between longer and shorter practices depending on your needs.
Shorter is not always better. A longer practice may still be more useful when you have time, feel especially tense, or want a more complete exercise.
The basic method
As the practice becomes shorter, focus on the areas where you most often hold tension.
A simple sequence is:
- Notice your overall level of tension.
- Let your breathing remain natural and comfortable.
- Release unnecessary tension in several key areas.
- Use your cue word if helpful.
- Pause briefly and notice any change.
- Continue with what you were doing.
Common areas to check include:
- forehead and eyes;
- jaw and mouth;
- neck and shoulders;
- hands and arms;
- chest and abdomen;
- back and hips; and
- legs and feet.
You do not need to make every area feel relaxed. Look for a small, useful shift.
Ten-minute practice
A 10-minute practice may still move through most of the body.
Sit or recline in a supported position.
Move your attention through the following areas:
- hands and arms;
- shoulders;
- face and jaw;
- neck;
- chest and abdomen;
- upper and lower back;
- hips and thighs;
- lower legs and feet.
At each area:
- notice any tension or effort;
- invite unnecessary tension to soften;
- pause briefly; and
- move on.
Finish by noticing the body as a whole for a minute or two before gradually returning your attention to the room.
Five-minute practice
In a five-minute practice, combine areas rather than working through them separately.
You might use this sequence:
- Face and jaw — let the forehead, eyes, mouth, and jaw rest.
- Neck and shoulders — allow the shoulders to lower and the neck to remain neutral.
- Hands and arms — release gripping, lifting, or bracing.
- Chest, abdomen, and back — notice unnecessary holding and let the support beneath you carry more weight.
- Hips, legs, and feet — allow the lower body to rest.
Pause briefly after each area.
End by noticing whether anything has shifted, even slightly.
Two-minute practice
A two-minute practice focuses on the areas most likely to tighten during stress.
For example:
- Notice your shoulders.
- Let your jaw loosen and keep your teeth apart.
- Release your hands.
- Allow your abdomen to stop bracing unnecessarily.
- Feel your feet against the floor.
- Use your cue word.
- Notice your state before continuing.
Keep breathing natural. Do not rush or force the body to become calm.
One-minute practice
A one-minute practice can be used during a break, before an appointment, after finishing a task, or while waiting.
Try the following:
- pause;
- notice where you are holding tension;
- release your jaw;
- lower your shoulders;
- soften your hands;
- feel your feet or the chair supporting you;
- allow one comfortable breath;
- silently repeat your cue word; and
- notice what you need next.
The result may be modest. A small release or a brief pause before acting is enough.
A very brief relaxation pause
Eventually, the practice may become a few seconds long.
Use the reminder:
Notice → Settle → Choose
Notice
Recognize an early sign of tension or activation.
For example:
- raised shoulders;
- clenched teeth;
- tight hands;
- restricted breathing;
- physical bracing;
- racing thoughts;
- impatience; or
- an urge to react quickly.
Settle
Release what tension you can.
You might:
- loosen the jaw;
- lower the shoulders;
- soften the hands;
- let breathing remain comfortable;
- feel your feet against the floor; or
- use your cue word.
“Settle” does not mean that you must become calm. It means creating a small pause and reducing unnecessary effort where possible.
Choose
Observe what is happening and decide what response fits the situation.
You may need to:
- continue with the task;
- speak;
- wait;
- set a boundary;
- solve a problem;
- leave the situation;
- ask for help; or
- use another strategy.
Relaxation is one part of the response, not always the whole response.
When to practice
Practice shortened forms first during calm or mildly demanding moments.
Examples include:
- after waking;
- before starting work;
- during a break;
- before a phone call or appointment;
- while waiting;
- after completing a difficult task; or
- before bed.
At first, it can help to practice at planned times rather than waiting until you are very stressed.
As the skill becomes more familiar, you can begin using it when you notice early signs of tension.
Combining longer and shorter practice
Continue using Active or Passive Relaxation periodically.
Longer practices help maintain familiarity with:
- the full body sequence;
- the difference between tension and release;
- areas that are easy to overlook; and
- a slower, more complete period of practice.
Short practices help make the skill portable.
You may use a longer practice on some days and brief pauses on others.
Common difficulties
“The shortened practice feels rushed.”
Return to a longer version. Shortening should happen gradually. The aim is familiarity, not speed for its own sake.
“I cannot relax in one or two minutes.”
Do not expect the same experience as during a longer practice. Look for one useful change, such as releasing your jaw, lowering your shoulders, or pausing before reacting.
“I forget to use it.”
Choose one or two regular reminders, such as before lunch, after work, or when sitting down at your desk.
You may also use a phone reminder, a note, or a familiar daily event as a prompt.
“I only remember when I am already very stressed.”
Continue practicing during easier moments. Earlier recognition usually develops through repetition.
When activation is already intense, use whatever strategy is most appropriate and return to shortened practice later.
“I am trying too hard.”
Use less effort. Shortened Relaxation should become simpler, not more forceful.
Notice, release what you can, and continue.
“There is little or no change.”
A brief practice may create only a small shift. It may also help you recognize that another response is needed.
The absence of immediate relaxation does not mean the practice was useless.
Important reminders
- Keep breathing natural and unforced.
- Do not strain or force a physical change.
- Your eyes may remain open.
- You may stop or use a longer practice instead.
- Do not use the exercise during activities that require your full attention.
- Relaxation should not replace practical action when a situation is unsafe or needs to change.
If you feel faint, unreal, shut down, or disconnected, further relaxation may not be helpful. Look around the room, feel your feet against the floor, move gently, engage your senses, or contact a supportive person.
Discuss significant or recurring difficulties with your clinician.
The goal is not deeper relaxation. It is easier access to a useful degree of release.