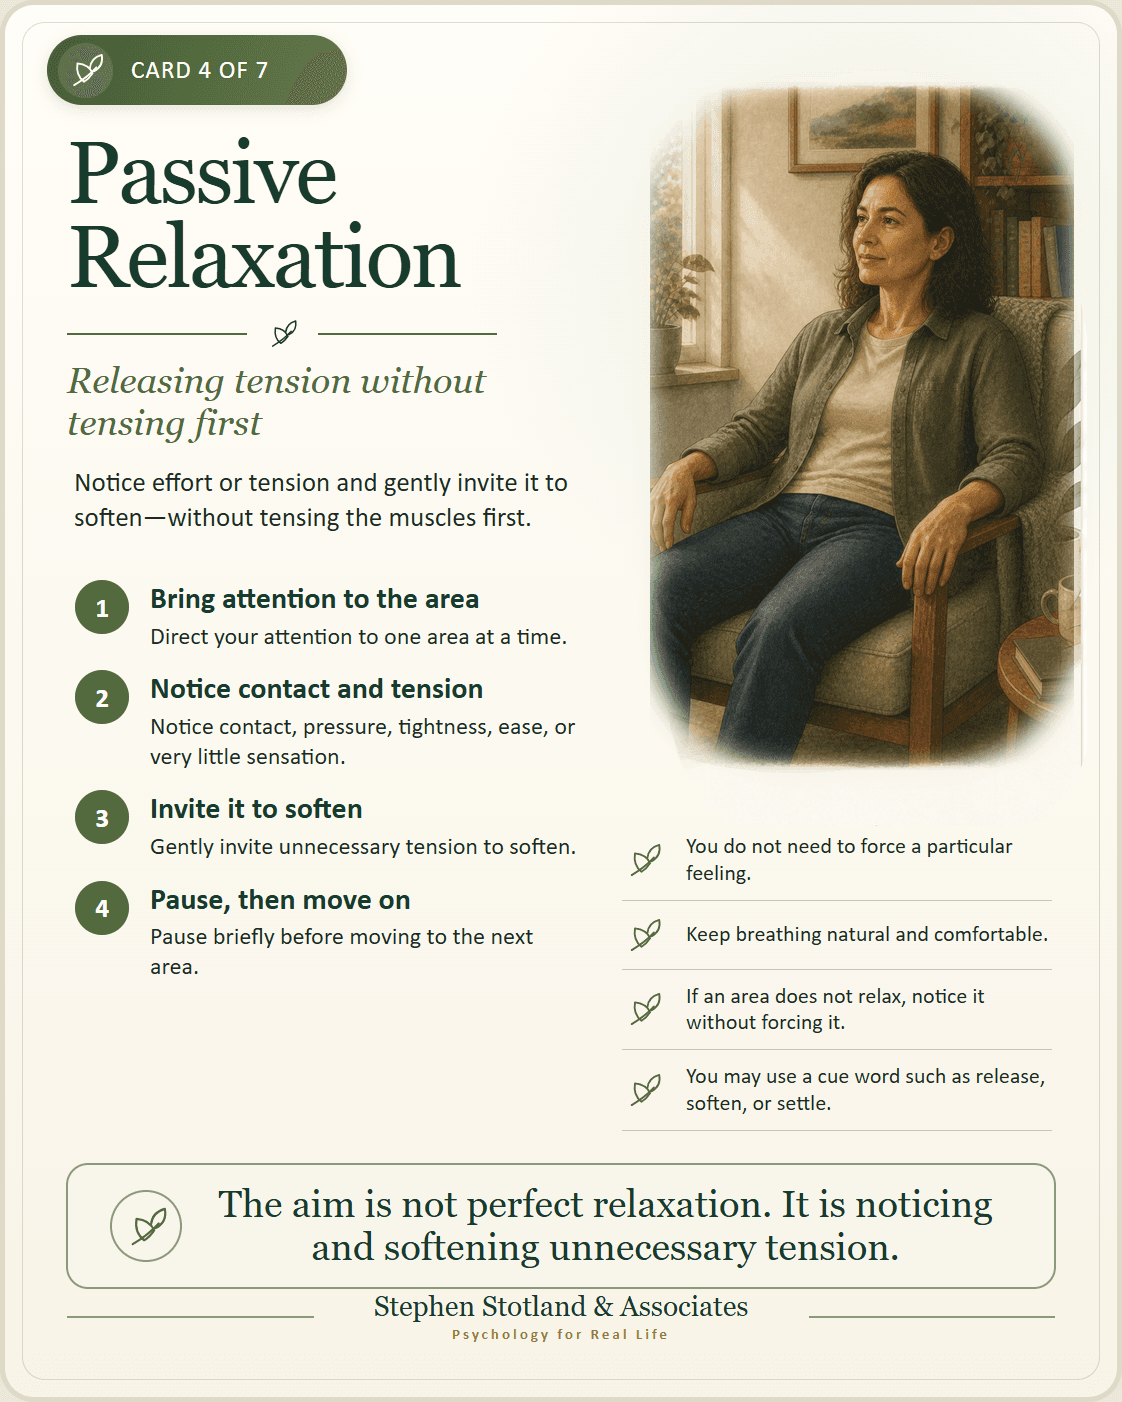
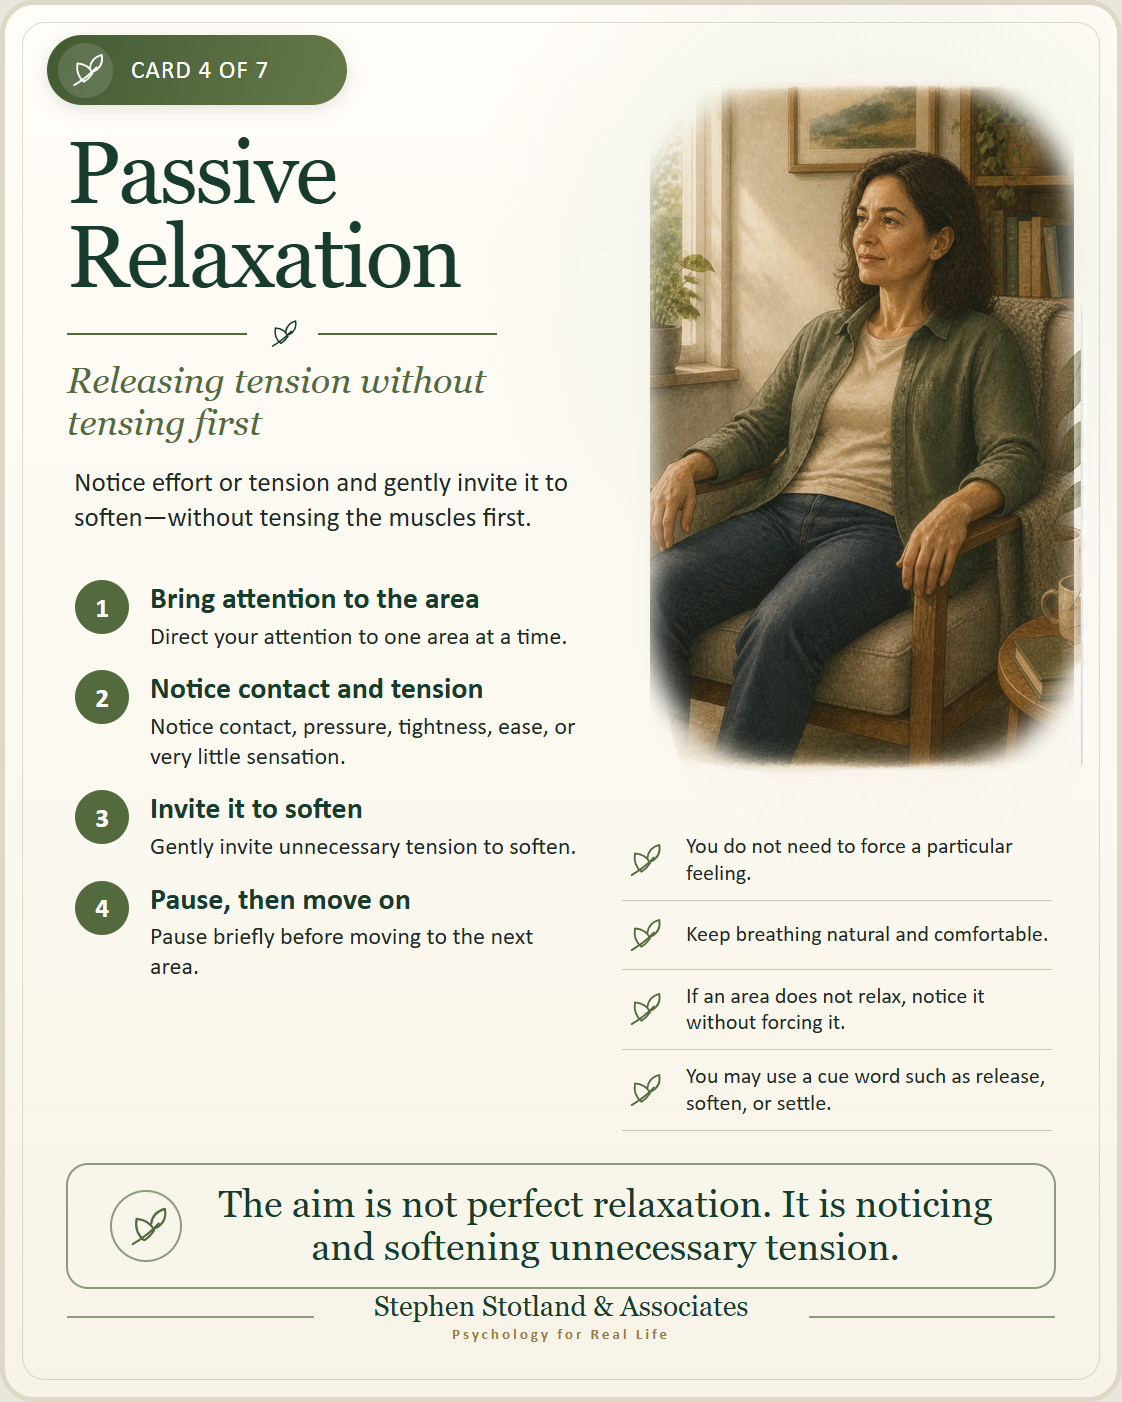
Releasing tension without tensing first
Passive Relaxation is the second stage of Applied Relaxation Training.
In Active Relaxation, you briefly tensed and released different muscle groups to learn the contrast between tension and release. In Passive Relaxation, you move through the same areas of the body but do not tense the muscles first.
Instead, you bring your attention to each area, notice any effort or tension that is present, and gently invite it to soften.
The goal is not to force the body into a deeply relaxed state. It is to practice recognizing and releasing unnecessary tension more directly.
Before you begin
Choose a quiet or low-distraction place where you can sit or recline comfortably.
Support your head, back, arms, and legs as needed. Your eyes may be open or closed. If closing your eyes feels uncomfortable or makes you feel less oriented, look at a neutral point in the room.
Loosen anything that feels tight or restrictive.
Do not practice while driving or during any activity that requires your full attention.
The basic method
Move slowly through the body.
For each area:
- Bring your attention to the area.
- Notice its contact with clothing, the chair, bed, floor, or another support.
- Notice whether there is tension, effort, bracing, or very little sensation.
- Gently invite any unnecessary tension to soften.
- Pause briefly before moving to the next area.
You do not need to create a particular feeling.
The area may feel softer, heavier, warmer, lighter, more comfortable, unchanged, or simply different. None of these sensations is required.
If an area does not relax, notice it without forcing it.
Body sequence
Use the same general sequence as in Active Relaxation.
1. Hands
Notice your fingers, palms, and thumbs.
Let the fingers rest naturally. Allow any gripping or tightness to ease.
2. Upper arms
Notice the front and back of your upper arms.
Let the arms feel supported rather than held in position.
3. Shoulders
Notice whether your shoulders are lifted, pulled back, or braced.
Allow them to rest in a more comfortable position.
4. Face
Notice your forehead, eyes, jaw, mouth, and tongue.
Let the forehead smooth. Allow the eyes and mouth to rest. Keep your teeth apart and let the jaw loosen.
5. Neck
Keep your head in a comfortable, neutral position.
Notice any effort in the neck and invite it to soften. Do not force a movement.
6. Chest
Notice the muscles around the chest and ribs.
Let the area rest while breathing continues naturally.
7. Upper back
Notice the upper back and the area around the shoulder blades.
Allow the support beneath or behind you to carry more of your weight.
8. Abdomen
Notice whether the abdominal muscles are braced or held in.
Let any unnecessary effort soften while breathing remains comfortable.
9. Lower back
Notice the lower back and its contact with the chair, bed, or other support.
Allow the area to rest without pressing, arching, or forcing a movement.
10. Buttocks
Notice the muscles around the hips and buttocks.
Let the area rest against the support beneath you.
11. Thighs
Notice the front, back, and sides of your thighs.
Allow the legs to feel supported rather than held.
12. Lower legs
Notice the calves, shins, and ankles.
Let the lower legs rest and allow any unnecessary effort to ease.
13. Feet
Notice the heels, soles, toes, and contact with the floor or support.
Let the toes rest naturally.
Breathing
Let your breathing remain natural, comfortable, and unforced.
You do not need to take deep breaths, count, or deliberately slow your breathing.
If it feels comfortable, you may notice an ordinary exhalation and allow some tension to soften as the breath leaves. This is optional.
If focusing on breathing makes you dizzy, anxious, or uncomfortable, stop trying to manage it. Keep your eyes open, look around the room, and allow breathing to find its own comfortable rhythm.
Using a cue word
You may silently repeat a simple word as you move through the body, such as:
- release;
- soften;
- settle; or
- let go.
Choose a word that feels natural, or practice without one.
The word is only a reminder. You do not need to make anything happen when you say it.
Whole-body relaxation
After moving through the body, remain supported for a few minutes.
Let your attention move freely.
Notice:
- areas that feel more released;
- areas that still feel tense;
- areas that are difficult to sense; and
- the overall level of effort in your body.
You may invite any remaining effort to soften, but do not force it.
If an area remains tense, you may leave it alone and continue.
Ending the exercise
Return your attention gradually to the room.
Notice sounds, light, and the surfaces supporting you. Move your fingers and toes. If your eyes were closed, open them when ready.
Sit upright before standing, especially if you feel sleepy or light-headed.
Practice
Aim to practice once or twice daily, or on most days, depending on the plan discussed with your clinician.
A full Passive Relaxation practice may initially take approximately 15–20 minutes. It often becomes shorter as the sequence grows more familiar.
You may continue using Active Relaxation when:
- the contrast between tension and release is difficult to notice;
- a particular area feels persistently tense;
- Passive Relaxation feels too vague; or
- returning to the earlier method would be useful.
Moving to Passive Relaxation does not mean that Active Relaxation is no longer helpful.
Common difficulties
“I cannot tell whether a muscle is tense.”
Simply notice the area and its contact with the support beneath you. Greater awareness may develop gradually.
“The muscles do not relax when I ask them to.”
Use less effort. Try words such as “allow,” “invite,” or “let” rather than commanding the muscle to relax.
You may also return briefly to Active Relaxation for that area.
“My mind keeps wandering.”
Return gently to the current body area or to the feeling of the chair, bed, or floor supporting you.
You do not need to maintain perfect concentration.
“I become restless or impatient.”
Keep your eyes open, shorten the practice, or work with only part of the body. Return to the full sequence another time.
“I feel more anxious when I focus on my body.”
Keep your eyes open and alternate attention between the body and something you can see or hear in the room. Shorten or stop the practice if needed.
Important reminders
- Do not force relaxation.
- Keep breathing natural and unforced.
- Your eyes may remain open.
- You may pause, shorten, modify, or stop at any time.
- Do not practice during activities requiring your full attention.
- A small change—or simply noticing tension more clearly—can be useful.
If the exercise increases dizziness, panic, intrusive thoughts, fear of losing control, or a sense of being unreal or disconnected, stop and orient yourself to the room. Look around, feel your feet against the floor, move gently, or contact a supportive person.
Discuss significant or recurring reactions with your clinician.
The aim is not perfect relaxation. It is becoming more able to notice and release unnecessary tension.