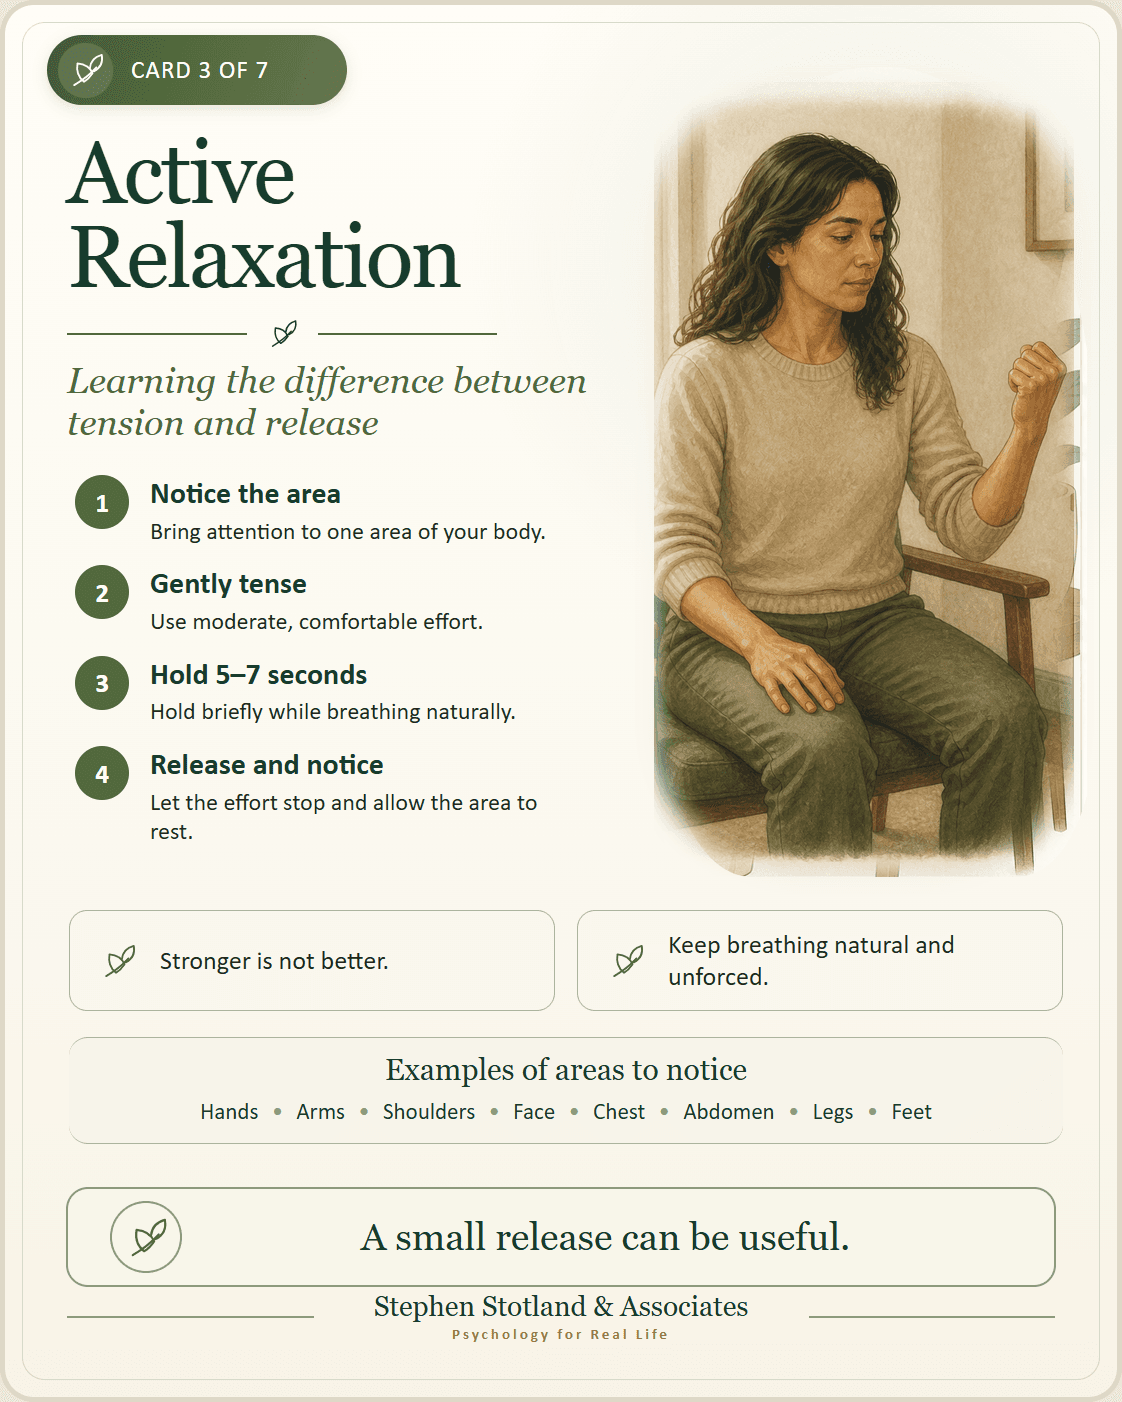
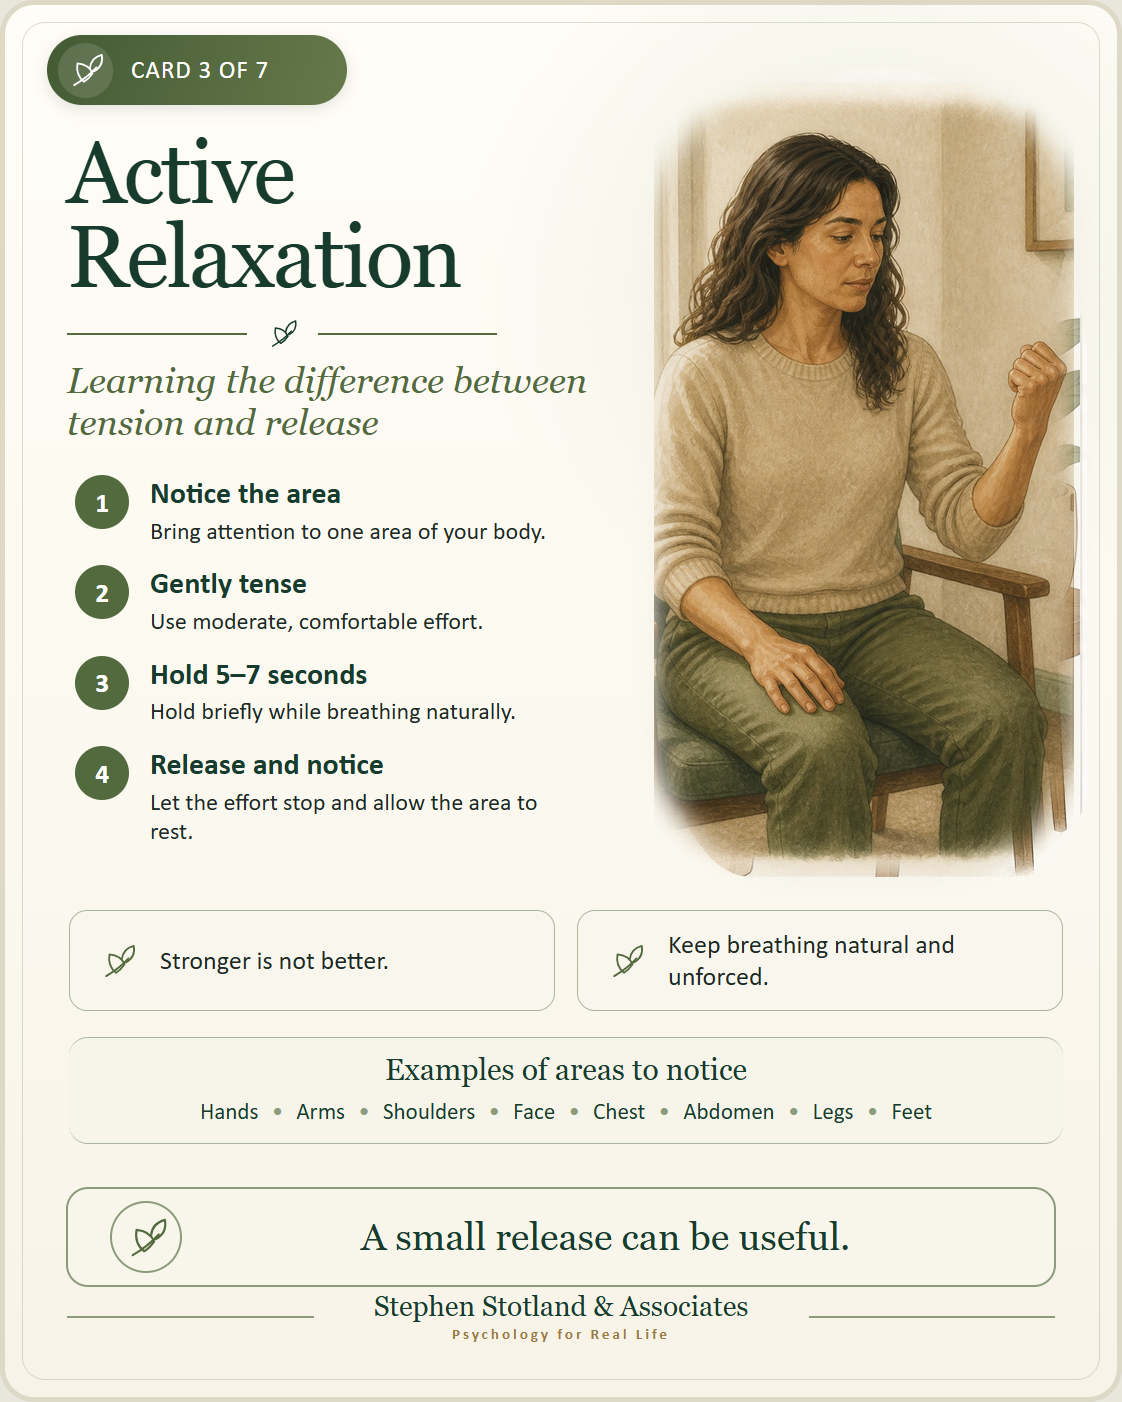
Learning the difference between tension and release
Active Relaxation is a practical exercise for becoming more aware of muscular tension and learning to release it intentionally.
You will move through different areas of the body, gently tensing each area for a few seconds and then letting the effort stop. The goal is not to use strong effort or become perfectly relaxed. It is to notice the contrast between tension and release.
Preparing to practice
Choose a quiet or low-distraction place where you can sit or recline comfortably.
Support your head, back, arms, and legs as needed. Your eyes may be open or closed. Loosen anything that feels tight or restrictive.
Before beginning, identify any areas that are painful, injured, recently treated, medically restricted, or uncomfortable. Use less effort in these areas, skip the contraction, or simply notice the area without tensing it.
Do not practice while driving or during any activity that requires your full attention.
The basic method
For each muscle group:
- Bring your attention to the area.
- Gently tense the muscles using moderate, comfortable effort.
- Hold for approximately five to seven seconds, while continuing to breathe naturally.
- Let the effort stop and allow the area to rest.
- Pause briefly and notice any difference between tension and release.
Use only enough effort to notice the tension. Stronger is not better.
Release sooner if you experience pain, cramping, shaking, dizziness, restricted breathing, or marked discomfort.
Body sequence
Move slowly through the following areas. Practice both sides together unless one side needs to be reduced, skipped, or practiced separately.
1. Hands
Gently curl your fingers into loose fists. Keep your thumbs comfortable and do not press your fingernails into your palms.
Release and let your fingers rest.
2. Upper arms
Bend your elbows slightly and draw your hands toward your shoulders, noticing the muscles at the front of your upper arms.
Release and let your arms rest.
3. Shoulders
Lift your shoulders slightly toward your ears.
Release and let them drop back into a comfortable position.
4. Face
Raise your eyebrows slightly and press your lips together gently. Keep your teeth apart and do not clench your jaw.
Release and let your expression rest.
5. Neck
Keep your head in a comfortable, neutral position.
Rather than deliberately tensing the neck, notice any effort you are holding there and invite it to soften. Skip any neck movement that was not specifically demonstrated to you.
6. Chest
Press your palms together lightly in front of your chest, or press your upper arms gently toward your sides.
Keep breathing comfortably. Release and let your arms rest.
Skip this contraction if it affects your breathing or causes discomfort.
7. Upper back
Press your upper back gently into the chair or other support.
Release and allow your upper back and shoulders to rest.
8. Abdomen
Gently tighten your abdominal muscles, as though preparing to support your trunk. Use only a light contraction and continue breathing.
Release and notice the change.
9. Lower back
Keep your lower back supported and comfortable.
Rather than forcing a movement, notice any tension or bracing and invite the area to soften. Skip deliberate contraction unless a comfortable movement was demonstrated to you.
10. Buttocks
Gently tighten the buttock muscles without lifting your hips or bracing your whole body.
Release and let the area rest against the chair or support.
11. Thighs
Gently tighten the muscles at the front of your thighs. Keep your knees comfortable and avoid forcing the legs straight.
Release and let your legs rest.
12. Lower legs
With your heels supported, point your toes slightly away to notice the calves. Release.
Then lift your toes slightly toward you to notice the muscles at the front of the lower legs. Release again.
Use a small movement and stop if cramping occurs.
13. Feet
Gently curl your toes or press your feet lightly into the floor or support.
Release and let your toes rest naturally.
Breathing
Let your breathing remain natural, comfortable, and unforced.
You do not need to take deep breaths, count your breathing, or coordinate every contraction with an inhale or exhale. Avoid holding your breath while tensing a muscle group.
If focusing on breathing makes you dizzy, anxious, or uncomfortable, stop trying to control it. Keep your eyes open, look around the room, and allow breathing to find its own comfortable rhythm.
Using a cue word
After releasing a muscle group, you may silently repeat a simple word such as:
- release;
- soften;
- settle; or
- let go.
Choose a word that feels natural, or practice without one.
The word is simply a reminder of the action you are practicing.
Whole-body relaxation
After completing the sequence, remain supported for a few minutes.
Let your attention move around the body. Notice areas that feel more released, areas that remain tense, and areas that are difficult to sense.
You may gently invite any remaining effort to soften. Do not force a particular feeling.
You might notice warmth, heaviness, lightness, tingling, comfort, or very little change. None of these experiences is required.
Ending the exercise
Return your attention gradually to the room.
Notice sounds, light, and the surfaces supporting you. Move your fingers and toes. If your eyes were closed, open them when ready.
Sit upright before standing, particularly if you feel sleepy or light-headed.
Practice
Aim to practice once or twice daily, or on most days.
A full practice usually takes approximately 15–25 minutes once the sequence becomes familiar. Early sessions may take longer.
Practice first in comfortable, supportive conditions. The purpose is to become familiar with the sequence and learn what moderate tension and release feel like.
A shortened or missed practice is not a failure. Return to the exercise at the next workable opportunity.
Important reminders
- Use moderate and comfortable effort—never maximal effort.
- Do not continue through pain.
- Reduce or skip any movement that is uncomfortable or medically restricted.
- Keep breathing natural and unforced.
- Your eyes may remain open.
- You may pause, shorten, modify, or stop the exercise at any time.
- Do not practice during activities requiring your full attention.
Bodily attention or relaxation can occasionally increase anxiety, dizziness, intrusive thoughts, fear of losing control, or a sense of disconnection. If this occurs, stop the exercise, look around the room, feel your feet against the floor, and reconnect with your surroundings.
Discuss significant or recurring reactions, medical restrictions, or uncertainty about particular movements with your clinician.
You are learning a skill, not performing a test.