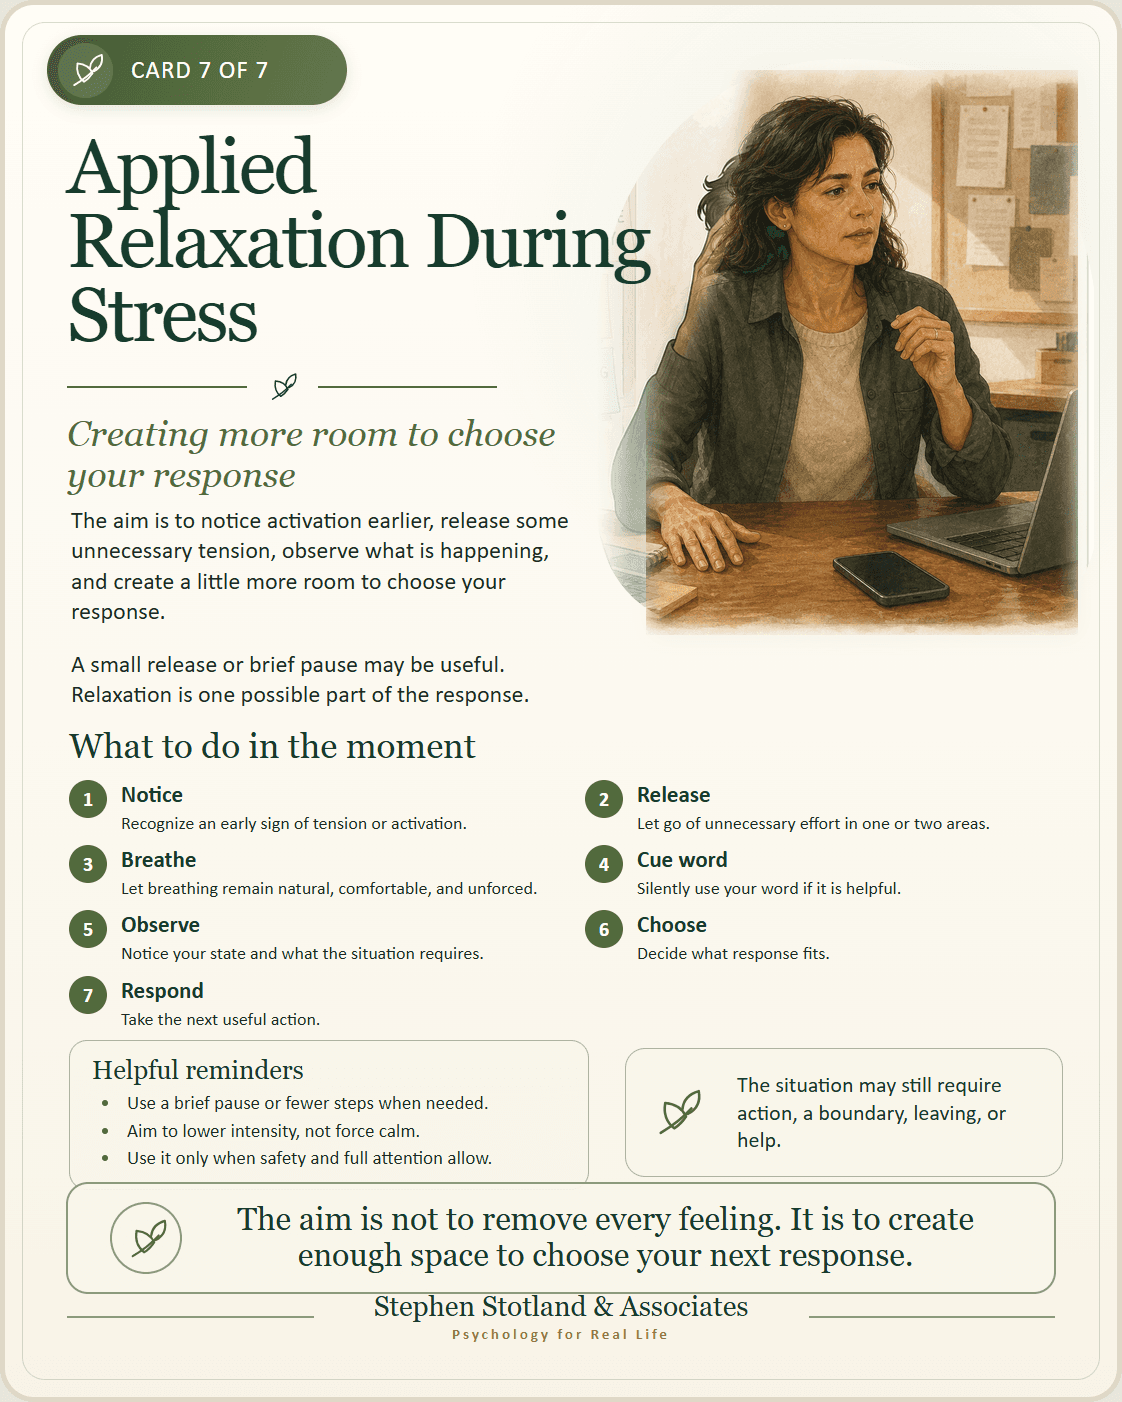
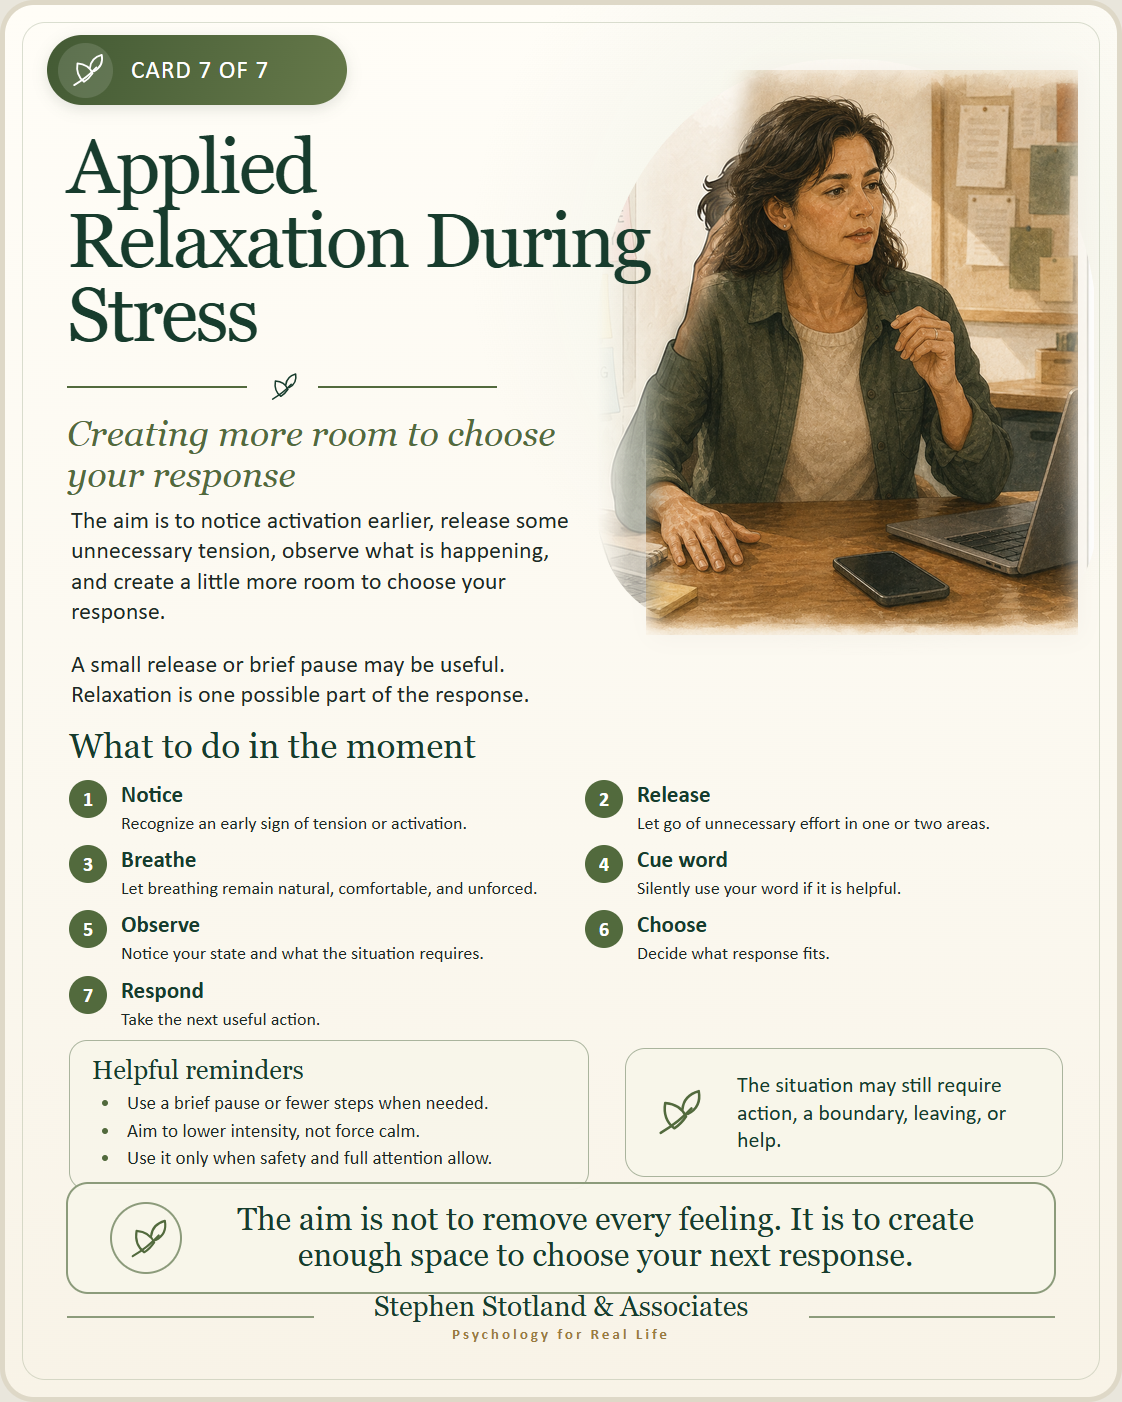
Creating more room to choose your response
Applied Relaxation During Stress is the fifth stage of Applied Relaxation Training.
You have practiced recognizing tension, releasing it directly, shortening the exercise, and using it under ordinary conditions. You will now begin applying the skill when you notice stress or activation starting to rise.
The aim is not to erase emotion, force yourself to become calm, or solve every problem through relaxation. It is to notice activation earlier, release some unnecessary tension, observe what is happening, and create a little more room to choose your response.
Begin with manageable situations
Start with stressful moments that feel manageable enough for you to remain present and use the skill.
Examples include:
- waiting for an appointment;
- preparing for a difficult phone call;
- noticing irritation during a routine delay;
- feeling tense before a conversation;
- noticing an urge to react quickly;
- recovering after a demanding task; or
- recognizing that worry or repetitive thinking is increasing.
Do not begin by testing the method during your most intense or overwhelming situations. Use earlier practices to build familiarity and discuss more difficult applications with your clinician when needed.
Notice early signs of activation
Applied relaxation is usually easier to begin when you recognize activation early.
Possible signs include:
- raised or tightened shoulders;
- a clenched jaw or pressed lips;
- tight hands or gripping;
- abdominal bracing;
- restricted or uncomfortable breathing;
- restlessness;
- repetitive or racing thoughts;
- narrowing attention;
- impatience;
- loss of perspective; or
- an increasing urge to act automatically.
Your signs may be different. Notice the patterns that tend to appear first for you.
You do not need to wait until you are certain that stress is increasing. An early physical or mental cue can be enough to try the skill.
The applied response sequence
Use the full teaching sequence:
Notice → Release → Breathe → Cue word → Observe → Choose → Respond
1. Notice
Recognize an early sign of tension or activation.
You might silently name what you notice: “My shoulders are rising,” “I am gripping,” or “I am about to react quickly.”
2. Release
Let go of unnecessary muscular effort where you can.
Focus on a few areas such as:
- jaw;
- shoulders;
- hands;
- abdomen; or
- legs.
Use a small release rather than trying to relax your whole body at once.
3. Breathe
Let breathing remain natural, comfortable, and unforced.
You do not need to take a deep breath or use a breathing count. If it is comfortable, allow one ordinary exhalation as you release tension.
4. Cue word
Silently use your cue word if it is helpful:
- release;
- soften;
- settle; or
- let go.
The word is a reminder, not a command. You may practice without one.
5. Observe
Notice your state and the situation.
Ask:
- Has anything shifted, even slightly?
- What feeling or urge is still present?
- What is happening around me?
- Is this a problem that requires action?
Observation separates regulating your state from deciding what to do.
6. Choose
Consider what response fits the situation.
You may need to:
- continue with the task;
- wait before speaking;
- communicate clearly;
- set a boundary;
- solve a problem;
- leave the situation;
- ask for help; or
- use another regulation strategy.
Relaxation is one possible part of the response. It is not always the whole response.
7. Respond
Take the next useful action you have chosen.
The response does not need to be perfect. If activation rises again, you may repeat part of the sequence, use a longer practice later, or choose a different strategy.
The shorter reminder
In daily life, use:
Notice → Settle → Choose
Notice
Recognize the first signs of activation.
Settle
Release what tension you can, let breathing remain comfortable, use your cue word if helpful, and observe any change.
“Settle” does not mean that you must become calm or remove the feeling.
Choose
Decide what the situation requires and respond.
The short reminder contains the same main ideas as the full teaching sequence. Use whichever version is easier to recall.
Examples
Before a difficult conversation
Notice raised shoulders or a tight jaw. Release your hands and shoulders, allow breathing to remain comfortable, and observe what you want to communicate before speaking.
During frustration
Notice the urge to react quickly. Release unnecessary bracing, pause, and decide whether to speak, wait, set a limit, or step away.
During an urge or craving
Notice the physical tension and urgency. Settle what you can, observe the urge and the situation, and choose the next response. Relaxation does not need to remove the urge to create a useful pause.
After a stressful event
Notice what tension remains. Use a brief release or return to a longer Active or Passive Relaxation practice if that would be more useful.
Practice
At first, deliberately use the sequence during mild or moderate activation. Planned practice makes it easier to learn the steps without also managing extreme distress.
Continue using:
- Active Relaxation when the tension–release contrast is useful;
- Passive Relaxation when you want a longer release-only practice;
- Shortened Relaxation when time is limited; and
- Relaxation in Everyday Situations to maintain portability.
Later stages add options. They do not make the earlier methods obsolete.
Common difficulties
“I remember only after I have reacted.”
Identify one early sign—such as raised shoulders, gripping, or a change in your breathing—and use it as a reminder. Continue practicing during easier moments.
“The feeling is still there.”
The exercise does not need to remove the feeling. Look for a small release or enough pause to observe and choose.
“I cannot remember all seven steps.”
Use Notice → Settle → Choose. The longer sequence is a teaching guide, not a memory test.
“I am too overwhelmed to use the skill.”
Use fewer steps. Open your eyes, look around, feel your feet against the floor, and release one area if that is helpful. Seek support or use another strategy when relaxation is not enough.
“I use relaxation instead of dealing with the problem.”
Return to Observe → Choose → Respond. Ask whether the situation requires communication, problem-solving, a boundary, leaving, or help.
“Relaxing feels like giving in.”
Reducing unnecessary tension does not mean agreeing, staying silent, or accepting what is happening. You can regulate your state and still take firm action.
What progress looks like
Progress may include:
- noticing activation earlier;
- remembering part of the sequence;
- releasing tension in one or two areas;
- creating a brief pause before reacting;
- recovering more readily after stress;
- choosing a response more deliberately; or
- recognizing when another strategy is needed.
The change may be modest. Progress is not measured only by how relaxed you become.
Important reminders
- Keep breathing natural, comfortable, and unforced.
- Use small, comfortable releases rather than force.
- Your eyes may remain open.
- You may pause, shorten, modify, or stop.
- Begin with manageable stressful situations.
- Do not practice during activities requiring your full attention.
Relaxation should not replace protection or practical action when a situation is unsafe, abusive, coercive, or otherwise unacceptable. Leave, seek help, or respond to the situation as needed.
If you feel faint, unreal, shut down, or disconnected from yourself or your surroundings, further relaxation may not be helpful. Look around, feel your feet against the floor, move gently, engage your senses, or contact a supportive person.
If you cannot remain oriented or safe, stop the exercise and seek appropriate support.
Discuss significant or recurring difficulties with your clinician.
The aim is not to remove every feeling. It is to create enough space to choose your next response.